
 EN
EN
 AR
AR BG
BG HR
HR CS
CS DA
DA NL
NL FI
FI FR
FR DE
DE EL
EL IT
IT JA
JA KO
KO NO
NO PL
PL PT
PT RO
RO RU
RU ES
ES SV
SV CA
CA IW
IW ID
ID LV
LV LT
LT SR
SR SK
SK SL
SL UK
UK VI
VI SQ
SQ HU
HU TR
TR FA
FA MS
MS GA
GA CY
CY LA
LA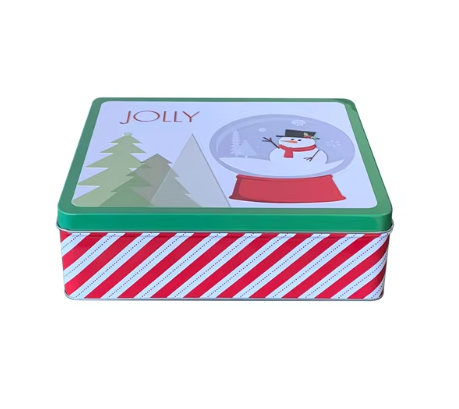
Give Your Tin a Makeover: Stylish Customization Ideas for a Unique Touch
Rectangular tins are more than just practical containers for storage or packaging—they're also perfect blank canvases for creative personalization. Whether you want to use them as gift boxes, branding tools, or simply as decorative items in your home, learning how to decorate a rectangular tin for a custom look can help transform a plain surface into a reflection of your style or business identity.
Preparing Your Tin for Decoration
Clean and Prime the Surface
Before applying any decorative material, the surface of the rectangular tin needs to be cleaned thoroughly. Use warm water and dish soap to remove dust, oil, or any manufacturing residue. After drying, a light sanding with fine-grit sandpaper can help paint and adhesives bond better to the metal. In cases where painting is involved, applying a metal primer creates a smooth, long-lasting foundation.
Choosing the Right Base Material
Decide whether your design will involve painting, decoupage, vinyl decals, or other materials. This decision influences the preparation process. For painting, primers and base coats are essential. For adhesive decorations, make sure the tin’s surface is free from oil and completely dry to ensure proper sticking.
Creative Decoration Techniques
Painting and Stenciling
Acrylic paint works best for decorating rectangular tins. You can apply a solid base color and then add patterns using stencils or masking tape for clean edges. Metallic paint, chalk paint, or enamel paint can create different finishes—from rustic to glossy. For a personalized look, hand-paint names, motifs, or quotes onto the tin.
Decoupage with Paper or Fabric
Decoupage allows for intricate and detailed designs using printed paper or fabric. Cut the material to fit your tin’s surface and use decoupage glue to adhere it. Seal with a few layers of clear varnish to ensure durability. This method is ideal for achieving a vintage or whimsical custom look, especially when using floral or script-patterned materials.
Adding Textures and Layers
To create dimension, consider layering textures on your rectangular tin. You can use lace, ribbon, burlap, or even embossed paper. Hot glue these materials onto the tin in patterns or borders. Pairing fabric textures with metallic finishes creates a visually striking contrast that enhances the decorative appeal.
Personalizing for Specific Occasions
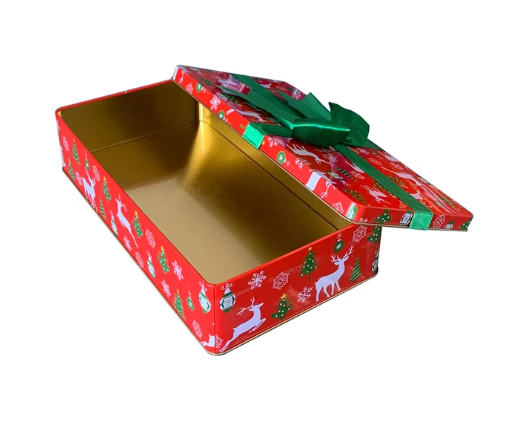
Holiday-Themed Decorations
For festive seasons, you can decorate tins to fit the theme—using red and green tones for Christmas, pastel colors and bunny motifs for Easter, or spooky accents for Halloween. Add embellishments like mini ornaments, dried flowers, or themed stickers to match the occasion. These decorated tins make great gift boxes or tabletop accents.
Wedding or Event Favors
Rectangular tins can be beautifully customized as wedding or party favors. Use soft tones like white, gold, or blush pink, and embellish them with ribbons, monograms, or laser-cut tags. Adding custom labels with the date or the recipient’s name elevates the personalization, turning a simple tin into a keepsake.
Corporate Branding and Promotional Use
For businesses, a custom rectangular tin serves as effective branded packaging. Add your logo using printable vinyl decals or silk-screen printing. Include the brand colors and slogan for a professional finish. You can also tuck in a business card or brochure to turn each tin into a marketing tool.
Practical Tips for Long-Lasting Results
Sealing and Protecting Your Design
After decorating your rectangular tin, sealing the design helps protect it from wear and tear. Use a clear spray sealant or varnish to lock in paint, paper, or stickers. This extra layer helps prevent scratches, moisture damage, or fading over time, especially if the tin will be handled frequently.
Avoiding Common Mistakes
One common issue is overloading the tin with too many elements, making it visually cluttered. Stick to a cohesive color palette and balanced layout. Another is skipping the preparation step, which can cause paint or adhesives to peel. Always take the time to clean, prime, and test your materials before applying them permanently.
Display and Usage Ideas
Home Decor and Storage
Once decorated, your rectangular tin can be repurposed as a decorative storage box on bookshelves, countertops, or office desks. Use it to store stationery, keepsakes, sewing supplies, or spices. A personalized tin adds charm and character to any room.
Gift-Giving with a Personal Touch
Instead of using disposable wrapping, place your gift inside a beautifully decorated tin. Whether filled with cookies, tea bags, or handmade crafts, a personalized container enhances the unboxing experience and often gets reused by the recipient.
DIY Kits or Subscription Boxes
For small businesses offering DIY kits or sample packs, custom tins provide an attractive and sturdy packaging solution. Whether for candles, skincare, or snacks, your decorated rectangular tin elevates perceived value and helps differentiate your brand.
FAQ
What kind of paint is best for decorating rectangular tins?
Acrylic paint is the most versatile and easy-to-use option for metal surfaces. Enamel and chalk paints are also effective depending on the finish you want. Always apply a primer before painting and seal with a clear coat afterward.
Can I use stickers or decals on tins?
Yes, vinyl decals and waterproof stickers adhere well to metal tins, especially when the surface is clean and smooth. For longevity, consider sealing over the decals with a clear spray varnish to prevent peeling.
How do I prevent paint from chipping off the tin?
Prepping the surface with sanding and primer is key to preventing chipping. After painting, apply a protective sealant and allow adequate drying time between layers to increase durability.
Is it safe to decorate tins that will store food?
If you plan to store unwrapped food in the tin, make sure the inner surface is food-safe and decorations do not interfere with the lid’s seal. It's best to use a food-safe liner or wrap food items before placing them inside a decorated tin.